Professional Hair System Removal Tips
When you have a perfect fit on hand (or head, as the case may be), you probably never want to stop wearing it. We get it. It’s like a missing part of you has finally returned.
Not to burst your bubble, but, sooner or later, you’ll have to remove and clean your hairpiece. While you may have already figured out how to apply the hair system for a flawless appearance, removing it is a whole other task — one that we’re more than happy to guide you through.
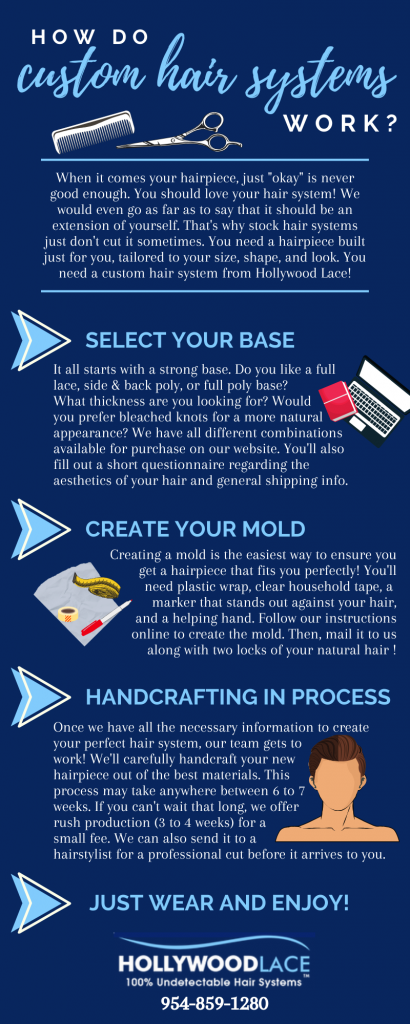
But first, let’s see how a custom hair replacement system works.
Here’s What You Need
- Hair system removal solvent to loosen the bonds between the hairpiece and the adhesive. A good solvent will make the removal process quick and painless for you, without ruining your hairpiece.
- Hair clip to clip any hanging locks away from the edge of the hair system.
- Towel to wipe away excess solvent, so it doesn’t get in your eyes or on your clothes.
Step 1: Spray a Solvent
Before we dive in, let’s first cover how to choose a good solvent for removing your hair system. There are hundreds of different products available for purchase, but keep in mind that not all solvents are built the same. Since your hair system is an investment that you want to keep attractive for as long as possible, we don’t recommend grabbing the cheapest bottle you see at your local drugstore. Take your time and do a little research into what type of solvent will work best for your hairpiece, oil-based remover, alcohol-based remover, or a specialized remover? You may want to consult with your hair system provider first. Also, make sure your solvent of choice doesn’t contain any harsh chemicals; what hurts you will hurt your hair.
Now, on to the good stuff.
- If you have any hair hanging over the edges of your hairpiece — the area where the hairpiece meets the adhesive meets your natural hair — make sure you clip it or gently tie it up, so it’s out of the way.
- Get the nozzle of the solvent as close to the adhesive as possible and spray, following the edge of the hairline. Don’t want to use the solvent as a hairspray! Spray only the area where the hairpiece meets the tape. Make sure you spray enough solvent to wet the tape, so the hairpiece lifts gently.
- Let the solvent do its thing! It will take about one to two minutes for the hairpiece to lift.
Step 2: Gently Lift
Once the solvent has broken the bonds between the hairpiece and the adhesive, removing the hair system should be easy! In fact, the hair system will release by itself. All you have to do is release your hair from the clip or hair tie, comb it back with your fingers, and gently push it away from your hairline. If the hairpiece doesn’t lift, you may need to apply more solvent.
It’s extremely important to handle your hair system with care during the removal process. Keep in mind that using too much pressure, being rough, or rushing the job will probably cost you some locks of hair.
Step 3: Clean Hair System
It’s not over yet. Before you can call it a job well done, you need to clean your hair system to remove any impurities or oil build-ups. Maintenance is what will keep your hairpiece shiny, strong, and healthy to extend its lifespan.
To learn more maintenance tips or to purchase some of the best men’s hair replacement systems available, contact us today!


